

How To Ensure The Alignment Of Large Wall Stickers During Installation?
Oct 12, 2026
Leave a message

Hey there! As a supplier of Large Wall Stickers, I've seen firsthand how a well - aligned wall sticker can transform a space. But let's be real, getting those large wall stickers perfectly aligned during installation can be a real pain in the neck. Don't worry, though. I'm here to share some tips and tricks that'll make your installation process a breeze.
Pre - installation Preparation
First things first, you've got to prep the wall. A smooth and clean surface is key. Any dirt, dust, or bumps on the wall can mess up the alignment and the overall look of the sticker. Start by wiping the wall down with a damp cloth and some mild soap. Then, let it dry completely. You don't want any moisture beneath the sticker, as it can cause bubbles or peeling later on.
Next, measure the wall and the sticker. Use a good quality measuring tape and take your time. Measure the height and width of the wall where you want to place the sticker. Then, do the same for the sticker. This will give you a clear idea of where the sticker should go and how much space you have to work with. Make sure to mark the center of the wall both horizontally and vertically. You can use a pencil or a piece of masking tape to do this. These marks will serve as your guide during installation.

Tools You'll Need
Having the right tools can make a huge difference in ensuring proper alignment. You'll definitely need a level. This is crucial for making sure your sticker is straight. A laser level is even better, as it gives you a clear, straight line to follow. You should also have a sharp utility knife on hand. This will come in handy if you need to trim the sticker to fit the space. Additionally, a squeegee will help you smooth out the sticker and remove any air bubbles as you go.
Alignment Techniques
When you're ready to start applying the sticker, start at the top. Line up the top edge of the sticker with the horizontal mark you made on the wall. Use the level to make sure it's straight. If it's a very large sticker, it might be a good idea to have a friend or family member help you hold it in place.
Once the top is in place, slowly start peeling the backing paper off the sticker, a little at a time. As you peel, use the squeegee to smooth the sticker onto the wall, starting from the center and working your way outwards. This will help prevent air bubbles from getting trapped underneath.
If the sticker has multiple sections, make sure to align them carefully. Refer to the pattern on the sticker and use the markings on the wall as a guide. For example, if there's a repeating design, line up the sections so that the design looks continuous.
Dealing with Challenges
Sometimes, you might encounter some obstacles during installation. For instance, electrical outlets or light switches on the wall can make alignment tricky. In this case, measure the position of the outlet or switch on the wall and mark it on the sticker. Then, carefully cut out the area using your utility knife. Make sure to leave a little extra space around the cutout to ensure a proper fit.
Another common issue is uneven walls. If your wall has a slight curve or isn't completely flat, you may need to be a bit more flexible with the sticker. You can try stretching or bending the sticker slightly to conform to the shape of the wall. But be careful not to over - stretch it, as this can cause the sticker to tear or lose its pattern.
Tips for Different Types of Large Wall Stickers
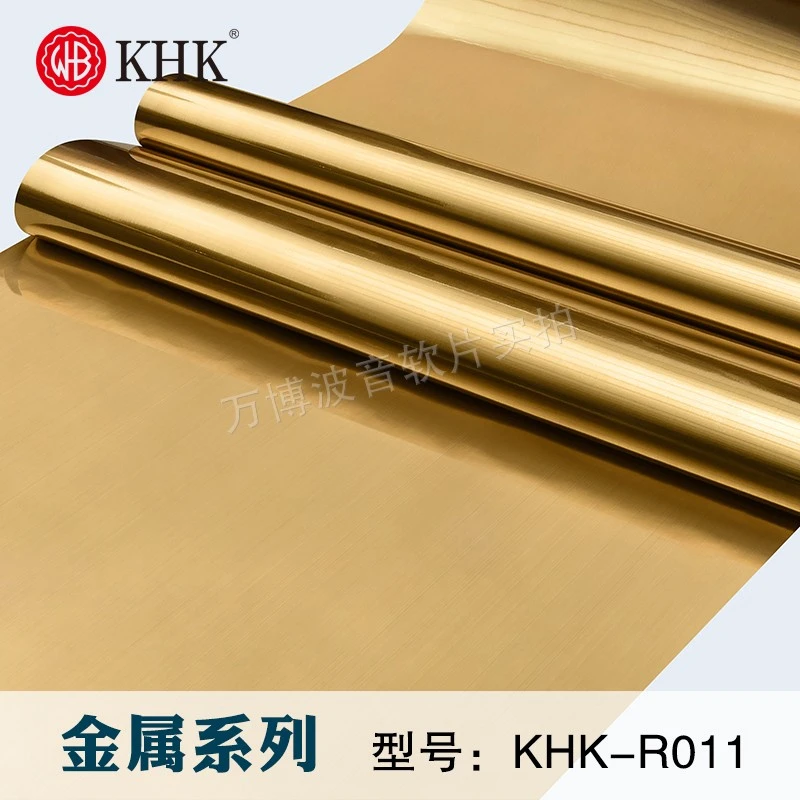
We offer a variety of large wall stickers, such as the Matte Silver PVC Vinyl Self Adhesive Wallpaper, Luxury Gold PVC Decoration Film, Glossy Metal Vinyl Wrap for Furniture, and Matte Gold Removable Wall Decals. Each type may require a slightly different approach.
For the metallic wallpapers like the matte silver and luxury gold ones, they're often more rigid. So, make sure to handle them gently to avoid creasing. When aligning, pay extra attention to the edges to ensure a seamless look.
The glossy metal vinyl wrap for furniture is a bit more flexible. This can be an advantage when dealing with curved or irregular surfaces, but it also means it might be a bit more difficult to keep it straight during installation. Use the level more frequently and have someone help you stretch it evenly across the wall.
The removable wall decals are great because they can be adjusted easily if you make a mistake. But they're also thinner, so you need to be extra careful not to damage them while peeling and aligning.
Post - installation Checks
Once you've finished applying the sticker, take a step back and look at it from different angles. Check for any air bubbles, wrinkles, or misalignments. If you find any air bubbles, you can use the squeegee to push them towards the edges of the sticker. If there are wrinkles, try to smooth them out gently. If the misalignment is minor, you can carefully lift the sticker and re - position it.
Conclusion
Installing large wall stickers and ensuring proper alignment doesn't have to be a nightmare. With the right preparation, tools, and techniques, you can achieve a professional - looking result. Whether you're decorating your home, office, or any other space, our high - quality Large Wall Stickers can add a touch of style and personality.
If you're interested in purchasing our large wall stickers or have any questions about installation, don't hesitate to reach out. We're always here to help you make your space look amazing.
References
General knowledge from years of experience in the wall sticker industry.
Insights from customer feedback on installation processes.